
Dermatology Science & Research
Skin Science Blog
Explore clinical insights, 3D skin analysis research, and modern aesthetic technology innovations.
How to Choose a Skin Texture Measurement Tool?
Table of Contents
- Define the Skin Texture Features You Need to Measure
- Compare Contact and Non-Contact Measurement Methods
- Evaluate Accuracy, Resolution, and Measurement Range
- Check Usability, Data Analysis, and Device Compatibility
- Select the Tool That Fits Your Research or Skincare Application
- FAQS
- Conclusion
- Related Posts
Choosing a skin texture measurement tool is not a simple matter of selecting the most advanced camera or sensor. It requires a clear link between the measurement method, research purpose, and skin characteristic being evaluated. A clinical trial may need repeatable wrinkle-depth data, while a cosmetic laboratory may focus on pore visibility, roughness, or surface uniformity. The “best” tool depends on context.
Industry demand makes this decision increasingly important. Cosmetics Europe reported €88.8 billion in European cosmetics and personal care retail sales in 2023. Meanwhile, L’Oréal’s 2023 Annual Report highlighted continued investment in research, technology, and personalized beauty evaluation. These figures reflect a market that increasingly expects measurable product benefits. Claims need stronger evidence than attractive before-and-after images. Professional instruments can provide numerical indicators, but they cannot remove every source of error.
Real skin is difficult to measure. Facial movement, hydration, makeup residue, room temperature, and lighting can change results within minutes. ISO 5725 emphasizes repeatability and reproducibility when evaluating measurement processes. ISO 25178 also provides useful concepts for surface-texture characterization, although human skin requires careful adaptation. In practice, operators should standardize cleansing, acclimatization time, positioning, illumination, and analysis settings. Small details matter. A tilted forehead can distort comparisons.
This guide examines imaging systems, profilometers, optical scanners, and hybrid platforms. It compares resolution, contact safety, software capability, calibration requirements, throughput, and reporting quality. A lower-cost tool may perform well in controlled studies, but not in every laboratory. Some choices fail. That is worth acknowledging. Reliable selection comes from testing the instrument on representative skin types, checking repeatability, and matching output data with the intended claim. A credible skin texture measurement tool should produce results that another trained team can understand, reproduce, and defend.
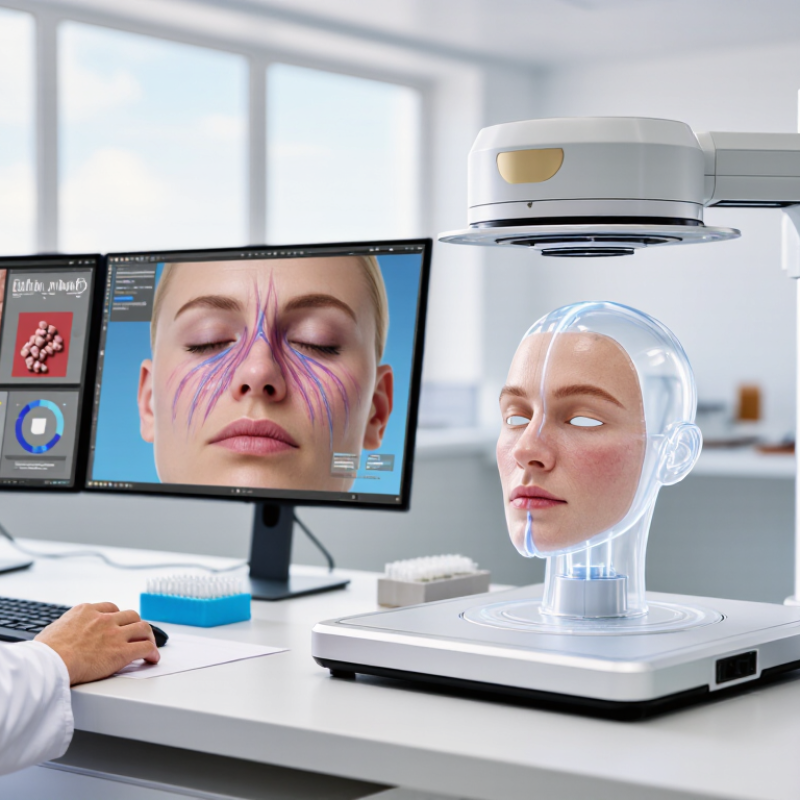
Define the Skin Texture Features You Need to Measure
Choosing a skin texture measurement tool starts with a precise definition of the feature you want to measure. “Skin texture” may mean roughness, pore visibility, fine lines, flaking, or uneven micro-relief. These features are not interchangeable. A device that detects surface height may miss color contrast around a pore. In practical assessments, I record the target feature before selecting the equipment. Keep the question visible. For roughness, define the measurement scale, direction, and area. A cheek and a forehead may produce different readings because their structures and oil levels differ.
For surface topography, useful indicators can include average roughness, peak-to-valley distance, and the distribution of small ridges. For image-based analysis, define pore diameter, pore count, line depth, or contrast against nearby skin. Lighting must remain consistent. So must camera distance, skin cleansing, hydration time, and facial expression. Otherwise, the tool may measure preparation differences instead of texture. Repeat the measurement several times and report the variation, not only the average. That detail supports reliability. I have seen apparently clear results weaken when the same area was measured under different lighting. This is easy to overlook. A clear protocol, trained operators, and documented limitations make the data more credible. No single feature explains every visible change. That is worth remembering.
Compare Contact and Non-Contact Measurement Methods
Choosing a skin texture measurement tool starts with one practical question: must the device touch the skin?
Contact methods use a stylus or probe across a defined path. They can deliver repeatable line measurements, including roughness and waviness values. ISO 4287 and ISO 16610 define common profile parameters and filtering principles. That standardization supports controlled laboratory comparisons.
However, pressure can flatten fine lines or disturb loose surface flakes. Probe cleaning also matters. Small contamination may change the reading. I have seen this become an overlooked source of variation.
Non-contact methods use optical imaging, structured light, or other surface-scanning approaches. They capture broader areas without pressing the skin. ISO 25178-600:2019 describes areal surface-texture methods and optical measurement principles. This is useful for pores, wrinkles, and uneven texture across the cheeks.
A 2022 review in Skin Research and Technology also highlighted the growing use of three-dimensional imaging for objective facial assessment. Yet optical data can weaken with hair, shine, movement, or strong curvature. More pixels do not automatically mean better evidence.
The choice depends on the study design. Use contact measurement when a stable, narrow profile is sufficient. Select non-contact measurement when spatial coverage and participant comfort matter more.
Keep lighting, hydration, cleansing time, and facial position consistent. Results can shift after washing. That part is easy to underestimate.
For credible comparisons, report calibration procedures, excluded scans, environmental conditions, and repeatability statistics, not only attractive images.
Evaluate Accuracy, Resolution, and Measurement Range
Choosing a skin texture measurement tool requires more than comparing product images. In practical testing, accuracy shows whether readings reflect the surface, not sensor noise. Ask how the device is calibrated, which reference standards are used, and whether operators can repeat the same scan. A reliable tool should produce similar values under controlled lighting, pressure, and skin preparation. This matters when tracking fine lines, pores, or rough patches over several weeks. Small handling differences can distort the result.
Tips: Test the tool on a textured reference surface before measuring volunteers. Take three readings at the same cheek area, then compare the spread. Record room temperature, humidity, cleansing time, and applied pressure. If results change sharply, investigate the method before trusting the number. It is tempting to accept a neat decimal value. That confidence may be misplaced.
Resolution determines how much detail the system can distinguish. High resolution helps identify shallow ridges, but it can also capture irrelevant micro-variation. Measurement range is equally important. A narrow range may miss severe roughness, while an overly broad range can reduce sensitivity to subtle changes. Match the range to the study objective and expected skin conditions. Request raw data, uncertainty information, and test reports when available. No tool is perfect. A thoughtful protocol often improves reliability more than a sophisticated specification.
How to Choose a Skin Texture Measurement Tool?
Evaluate a tool by matching its resolution and accuracy to the smallest skin feature you need to measure, while ensuring that its measurement range covers the deepest and largest features.
The chart uses practical reference ranges reported for skin-surface structures. As a general metrology rule, the instrument resolution should be no greater than one-tenth of the smallest feature being evaluated. Actual values vary with body site, hydration, age, lighting, and measurement method.
Check Usability, Data Analysis, and Device Compatibility
Choosing a skin texture measurement tool requires more than comparing resolution or advertised accuracy. Usability affects every reading. During practical testing, check whether operators can position the probe consistently and understand the workflow without constant supervision. A clear display, comfortable grip, and simple calibration routine reduce avoidable variation. Small details matter, such as cleaning the contact area, recording room humidity, and keeping pressure steady. One trial may reveal unexpected operator differences. That finding is valuable, not embarrassing.
Data analysis should be considered before purchasing the device. Ask whether measurements include raw files, processed scores, timestamps, and test conditions. Export options should support common formats and preserve enough detail for independent review. Built-in statistics can save time, but they may hide unusual readings or apply unsuitable assumptions. Examine repeatability, missing-value handling, and the method used to calculate texture changes. A tool that produces attractive graphs is not automatically scientifically reliable. Pilot testing with repeated measurements can expose false precision.
Device compatibility also deserves close attention. Confirm connections with existing computers, operating systems, imaging systems, and laboratory software. Check file-transfer stability and whether future software updates could disrupt the workflow. The device should suit the skin area, sample size, and texture range being studied. A compact probe may work well on the cheek but perform poorly near curved areas. Ask for technical documentation and independent validation where possible. No instrument fits every study perfectly. Choosing well means accepting some limitations and documenting them carefully.
Select the Tool That Fits Your Research or Skincare Application
Choose the measurement tool by application, not by impressive specifications. For controlled research, a 3D optical profiler can capture height, spacing, and roughness across a defined skin area. ISO 25178 provides standardized areal surface parameters, including Sa and Sz. This supports repeatable comparisons between visits. Keep lighting, room temperature, cleansing time, and facial posture consistent. Small changes matter.
For skincare development, the practical choice may differ. A high-resolution imaging system can show pores, fine lines, and visible unevenness under standardized lighting. A handheld probe may better support hydration or elasticity studies. Grand View Research valued the global skincare products market at approximately USD 155.7 billion in 2023. That scale increases pressure for credible claims, but market size does not make every measurement meaningful. Select endpoints that match the product’s intended effect. A pore-focused formula needs different evidence from a barrier-support product.
I would test repeatability before collecting large datasets. Measure the same site three times, then compare variation within one session. A tool that produces attractive images may still perform poorly across operators. No instrument is perfect. Human skin changes with hydration, sleep, cleansing, and climate. The European cosmetics market was reported at about EUR 88 billion in 2023 by Cosmetics Europe, showing the commercial value of reliable evaluation. Still, a smaller validated protocol may be stronger than a costly system used inconsistently. Document limitations openly, and let the research question determine the tool.
FAQS
It can include roughness, pore visibility, fine lines, flaking, or uneven micro-relief. These features are not interchangeable. Define one target clearly.
Cheeks and foreheads can produce different readings because oil levels and surface structures vary. Record the exact area and measurement direction.
Useful indicators include average roughness, peak-to-valley distance, and small ridge distribution. A single value may hide important surface details.
Keep lighting, camera distance, cleansing, hydration time, and facial expression consistent. Small changes matter. Otherwise, preparation differences may appear as texture changes.
Measure the same site several times, preferably three times during one session. Report variation, not only the average. Repeatability can expose weak procedures.
Choose the tool according to the research question and intended skincare effect. A three-dimensional optical system suits surface height and roughness. Imaging may better show pores and fine lines.
No. A clear image may still vary between operators or lighting conditions. Test repeatability before collecting large datasets.
Hydration, sleep, cleansing, room temperature, climate, and facial posture can influence results. Human skin is not perfectly stable. That limitation deserves documentation.
Not necessarily. A smaller, validated protocol may outperform costly equipment used inconsistently. Specifications can impress, but consistency matters more.
Use trained operators, a clear protocol, standardized conditions, and documented limitations. I may still miss subtle changes. Rechecking the method remains necessary.
Conclusion
Choosing the right skin texture measurement tool begins with defining the specific features you need to evaluate, such as roughness, smoothness, pore appearance, fine lines, or surface uniformity. Once your measurement goals are clear, compare contact and non-contact methods based on sample type, testing conditions, user comfort, and whether the procedure may influence the skin surface.
You should also assess accuracy, resolution, measurement range, repeatability, and the tool’s ability to detect subtle changes. Practical considerations are equally important, including ease of use, data analysis functions, reporting options, software compatibility, and integration with existing research or skincare equipment. The best choice will depend on your application, testing environment, budget, and level of technical expertise. A well-matched skin texture measurement tool can provide reliable, consistent data and support more informed product development, clinical evaluation, or routine skincare research.

Blog Tags: